- Products
- Catalogs
- News & Trends
- Exhibitions
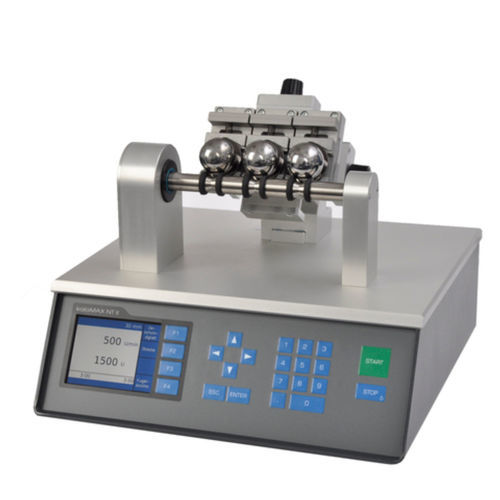
Stationary thickness gauge kaloMAX NT II S3coatingdigital displaybenchtop

Add to favorites
Compare this product
Characteristics
- Type
- stationary
- Applications
- coating
- Technology
- digital display
- Other characteristics
- benchtop, stationary
- Measuring range
Min.: 0.3 µm
Max.: 30 µm
- Measuring rate
Min.: 47 Hz
Max.: 63 Hz
- Weight
8 kg
(17.6 lb)
Description
•Fast and easy layer thickness measurement
•Reproducible measurement of wear and scratching resistance
•Measurement of layer thickness
•Easy to operate
•For quality assurance and coating development
•Suitable for hard coatings, lacquers, plastic coatings
The ball crater test (Calotest) is a well established method for the determination of layer thickness. With a rotating steel ball and an abrasive slurry, a spherical cap is ground through the coating into the base material of the sample. When examined with a microscope, the layer/base material interface appears as a circle or, in case of a multilayer coating, a system of concentric circles. The layer thickness can be calculated from the diameters of these circles and the diameter of the grinding ball.
This purely geometrical method gives highly accurate results even for layer thicknesses in the range of micrometers.
Evaluation and documentation can be further simplified by the software kaloSOFT and a camera-equipped microscope.
Catalogs
Calo Tester kaloMAX NT II S3
2 Pages
Related Searches
- Indentation hardness tester
- Benchtop indentation hardness tester
- Digital hardness tester
- Thickness measuring machine
- Digital tester
- Rockwell indentation hardness tester
- Automatic test equipment
- Brinell indentation hardness tester
- Vickers indentation hardness tester
- Portable indentation hardness tester
- Automatic indentation hardness tester
- Metal indentation hardness tester
- Coating thickness gauge
- Steel indentation hardness tester
- Digital display thickness gauge
- Aluminum indentation hardness tester
- Motorized hardness tester
- Film testing system
- Shore hardness tester
- Analog hardness tester
*Prices are pre-tax. They exclude delivery charges and customs duties and do not include additional charges for installation or activation options. Prices are indicative only and may vary by country, with changes to the cost of raw materials and exchange rates.


