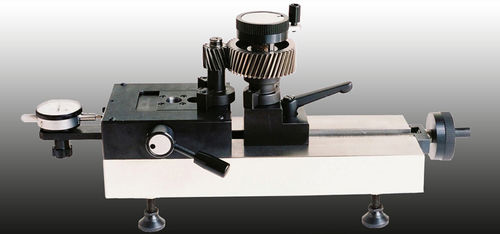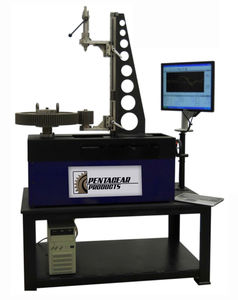
Gear inspection machine measurement

Add to favorites
Compare this product
Characteristics
- Applications
- for gears
- Other characteristics
- measurement
Description
Double Flank gear testing is considered a composite testing approach to gear measurement. It measures the “composite” of Index, Helix (lead), Profile and Runout errors in a gear.
Double flank testing consists of rolling two gears together in tight mesh (preloaded one against another without backlash) and measuring the center distance deviation as the parts rotate 360°. One of the gears in mesh is a master gear with very small elementals errors and the other is the component to be tested. After rotating for 360°, a chart is created showing the center distance variation between the two gears.
Characteristics to Test
Total Composite Error Fi”
Tooth-to-Tooth Error fi ”
Composite Runout Error Fr”
Mean Center Deviation da”
Nicks and Burrs
Catalogs
No catalogs are available for this product.
See all of PECo‘s catalogs*Prices are pre-tax. They exclude delivery charges and customs duties and do not include additional charges for installation or activation options. Prices are indicative only and may vary by country, with changes to the cost of raw materials and exchange rates.


