- Company
- Products
- Catalogs
- News & Trends
- Exhibitions
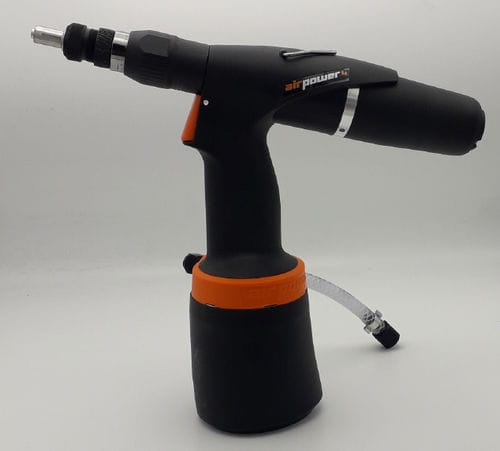
Manual riveter AP4hydro-pneumaticfor threaded inserts

Add to favorites
Compare this product
Characteristics
- Operation
- hydro-pneumatic, manual
- Applications
- for threaded inserts
Description
Air-hydraulic riveting tool is intended for riveting:
- nut rivets M3 – M12 (steel)
- screw rivets M4 – M8 (steel)
2.4. Operation of the tool
The tool is equipped with a nose-piece and screw-plug gauge for nut rivet M8. For riveting of rivets with a
different dimension it is necessary to exchange the nose-pieces and screw plug gauges and change basic
set up and regulation of the tool as following:
1) Loosen the back nut of the nose-piece /pic. 1/
2) Screw out the nose-piece from the nozzle /pic. 1/
3) Screw out the screw-plug gauge from the sleeve
4) Choose appropriate nose-piece and screw-plug gauge according to the dimension of the rivet, see
the following chart:
5) Screw the screw-plug gauge into the sleeve (to the backstop) and then turn it back, so that the
flats of the hexagons of the screw-plug gauge and sleeve are matching.
6) Slide on the nose-piece to the hexagons of the screw-plug gauge and sleeve.
7) Screw on the nose-piece to the sleeve
8) Set-up the nose-piece:
- for nut rivet – The nut rivet has to be screwed on the whole length of the thread on he screwplug gauge and the front of the nut rivet has to lean on the nose-piece. Fasten the position of the nosepiece with a back nut.
- for screw rivet - Set-up the nose-piece so that there is a cca 1 cm space between the outer side of the screw rivet and inner side of the nose-piece. Do it as following: Screw the nose-piece to the back- stop
to the screw-plug gauge and then unscrew it for one or two rounds. Fasten the position of the nose- piece with the back nut.
Catalogs
Threaded insert tool manual AP4
17 Pages
THREADED INSERTS
40 Pages
*Prices are pre-tax. They exclude delivery charges and customs duties and do not include additional charges for installation or activation options. Prices are indicative only and may vary by country, with changes to the cost of raw materials and exchange rates.


