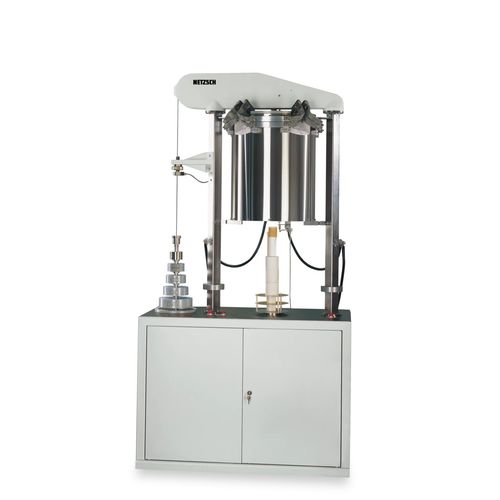
Refractoriness under load (RUL, according to ISO 1893) is a measure of the deformation behavior of refractory ceramic products subjected to a constant load and increasing temperature. The temperature range in which the softening occurs is not identical with the melting range of the pure raw material; however it must be reliably determined with the RUL 421 to check the use of refractory products in high-temperature applications.
Measurements can be conducted in static air using the basic version or with an optional device for inert gas purge within the test piece area. For testing carbon-containing materials, such as magnesia-carbon graphite bricks, a non-oxidizing test atmosphere can be achieved using a gas-tight test chamber (optional). This chamber can be evacuated and purged with protective gas, allowing measurements to be carried out at temperatures up to 1600°C.
Optionally, the loading device can be equipped to allow for load variation. The preload can be set up to 300 N, while the verifying load can range from 0 N to 700 N, applied at a rate between 0.3 N/s and 3 N/s.
Generally, identical test piece dimensions of 50 mm in diameter and 50 mm in height are used for both the RUL and CIC tests. The high-precision differential measuring system used for determining expansion and deformation requires the cylindrical test piece to have a coaxial bore of 12.5 mm. The ground faces must be plane, parallel, and perpendicular to the cylinder's axis (ISO/DIN). Other test piece dimensions, such as 36 mm (GOST 4070-20000), are also possible.


