- Detection - Measurement
- Optical and Acoustic Measurements
- Flatness interferometer
- Lamtech Lasermesstechnik GmbH
Flatness interferometer TOPOS 50ground partsFizeauoptical

Add to favorites
Compare this product
Characteristics
- Applications
- flatness, ground parts
- Options
- Fizeau, optical
Description
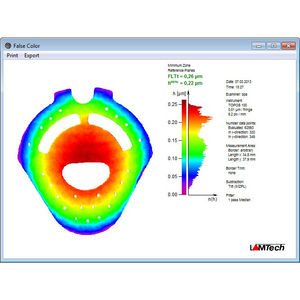
TOPOS interferometers operate according to the principle of grazing incidence of light. The flatness of also rougher parts can be measured, which show no more fringe pattern with optical flats or Fizeau-interferometers. Based on the interference pattern a computer calculates the flatness of the test object. Next to lapped or ground parts also polished parts can be measured. The parts may consist of diverse materials:
- metal (steel, aluminium, bronze, copper, etc.)
- ceramic (AL2O3, SiC, SiN, etc.)
- plastic material
- etc.
The interferometers can be placed in the production line, close to the processing machine. The absolute accuracy is up to 0.1µm over the entire measurement area.
The TOPOS 50 is a non-contact flatness measurement instrument for precisionmanufactured
surfaces with sub-micron accuracy.
The TOPOS flatness measurement instruments meet the requirements for objectively working measurement tools for the production and quality control of sophisticated components, such as those being utilized, for instance in fuel injection
systems, pumps or valves.
The TOPOS interferometers allow the non-contact flatness measurement of lapped,
fine-finished and polished precision parts. handling, especially when being placed in Thus results are made comparable and the production environment. quantifiable.
Catalogs
TOPOS 50
2 Pages
*Prices are pre-tax. They exclude delivery charges and customs duties and do not include additional charges for installation or activation options. Prices are indicative only and may vary by country, with changes to the cost of raw materials and exchange rates.


