- Detection - Measurement
- Optical and Acoustic Measurements
- Flatness interferometer
- Lamtech Lasermesstechnik GmbH
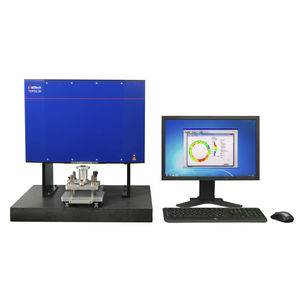
Flatness interferometer for large partsautomated


Add to favorites
Compare this product
Characteristics
- Applications
- flatness, for large parts
- Options
- automated
Description
Flatness measurement of large rings and surfaces with the extension of the TOPOS 100 by a cross or rotary table
The TOPOS interferometers are based on a non-contact measurement principle. This is the basis for a measurement with a cross or rotary table. Thus, there is no limit to the size of the measurable piece in reference to the measuring field of the interferometer.
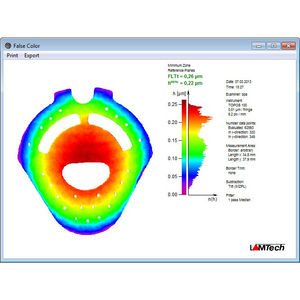
With the method of a cross or rotary table the measurement process is fully automated. The number of single measurements is based on the size of the test object. After the measurement of each segment, the user will receive the flatness value of the whole piece like in any other normal measurement.
Large rings with an outer diameter up to 420mm and ring width up to 80mm
In order to measure large rings, ring segments will be measured with an overlapping. Therafter, these segments will be merged calculative. Thus, the basis for this measurement is the stitching method. The rotation beneath the measuring field of the TOPOS 100 will be performed by a motor-powered precision rotary table. It is possible to measure rings with an outer diameter up to 420mm and with a ring width up to 80mm. If the ring width is larger, the parts can be measured by the use of a cross table.
Catalogs
No catalogs are available for this product.
See all of Lamtech Lasermesstechnik GmbH‘s catalogs*Prices are pre-tax. They exclude delivery charges and customs duties and do not include additional charges for installation or activation options. Prices are indicative only and may vary by country, with changes to the cost of raw materials and exchange rates.


